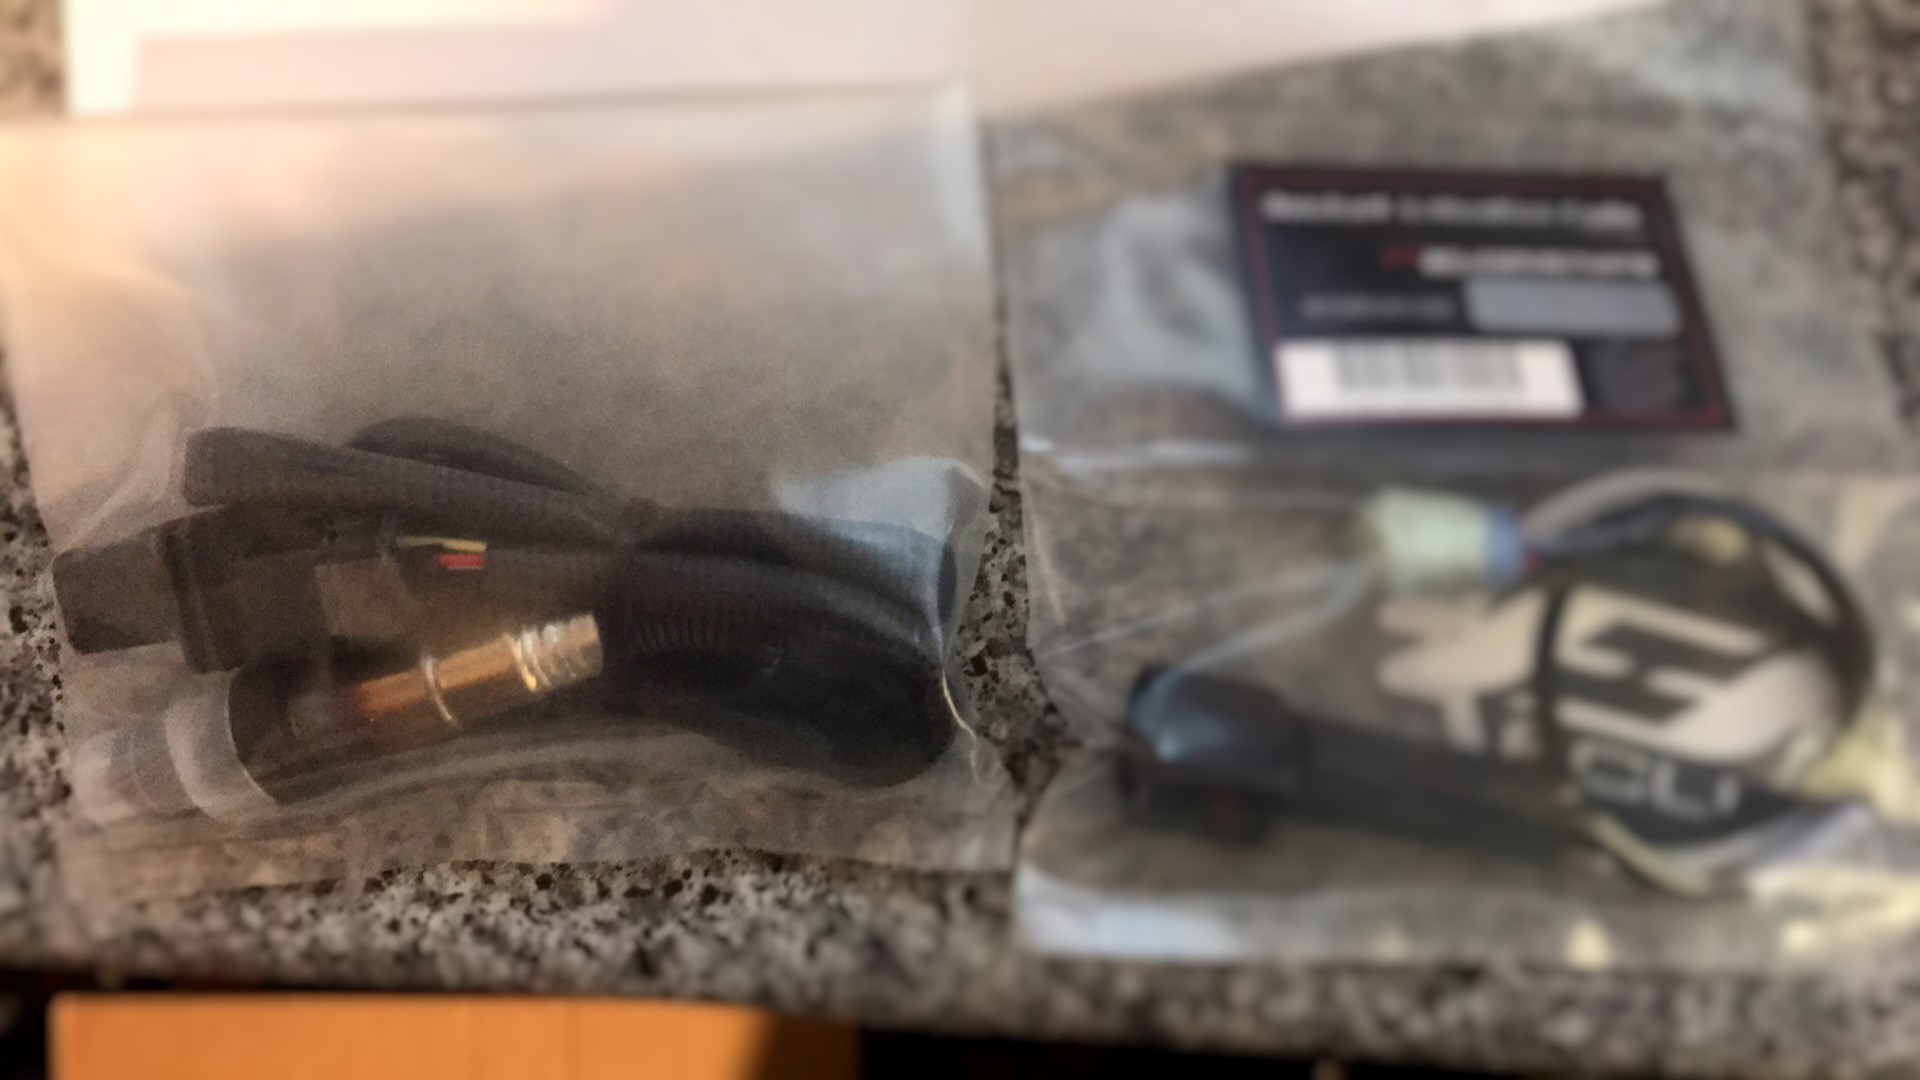
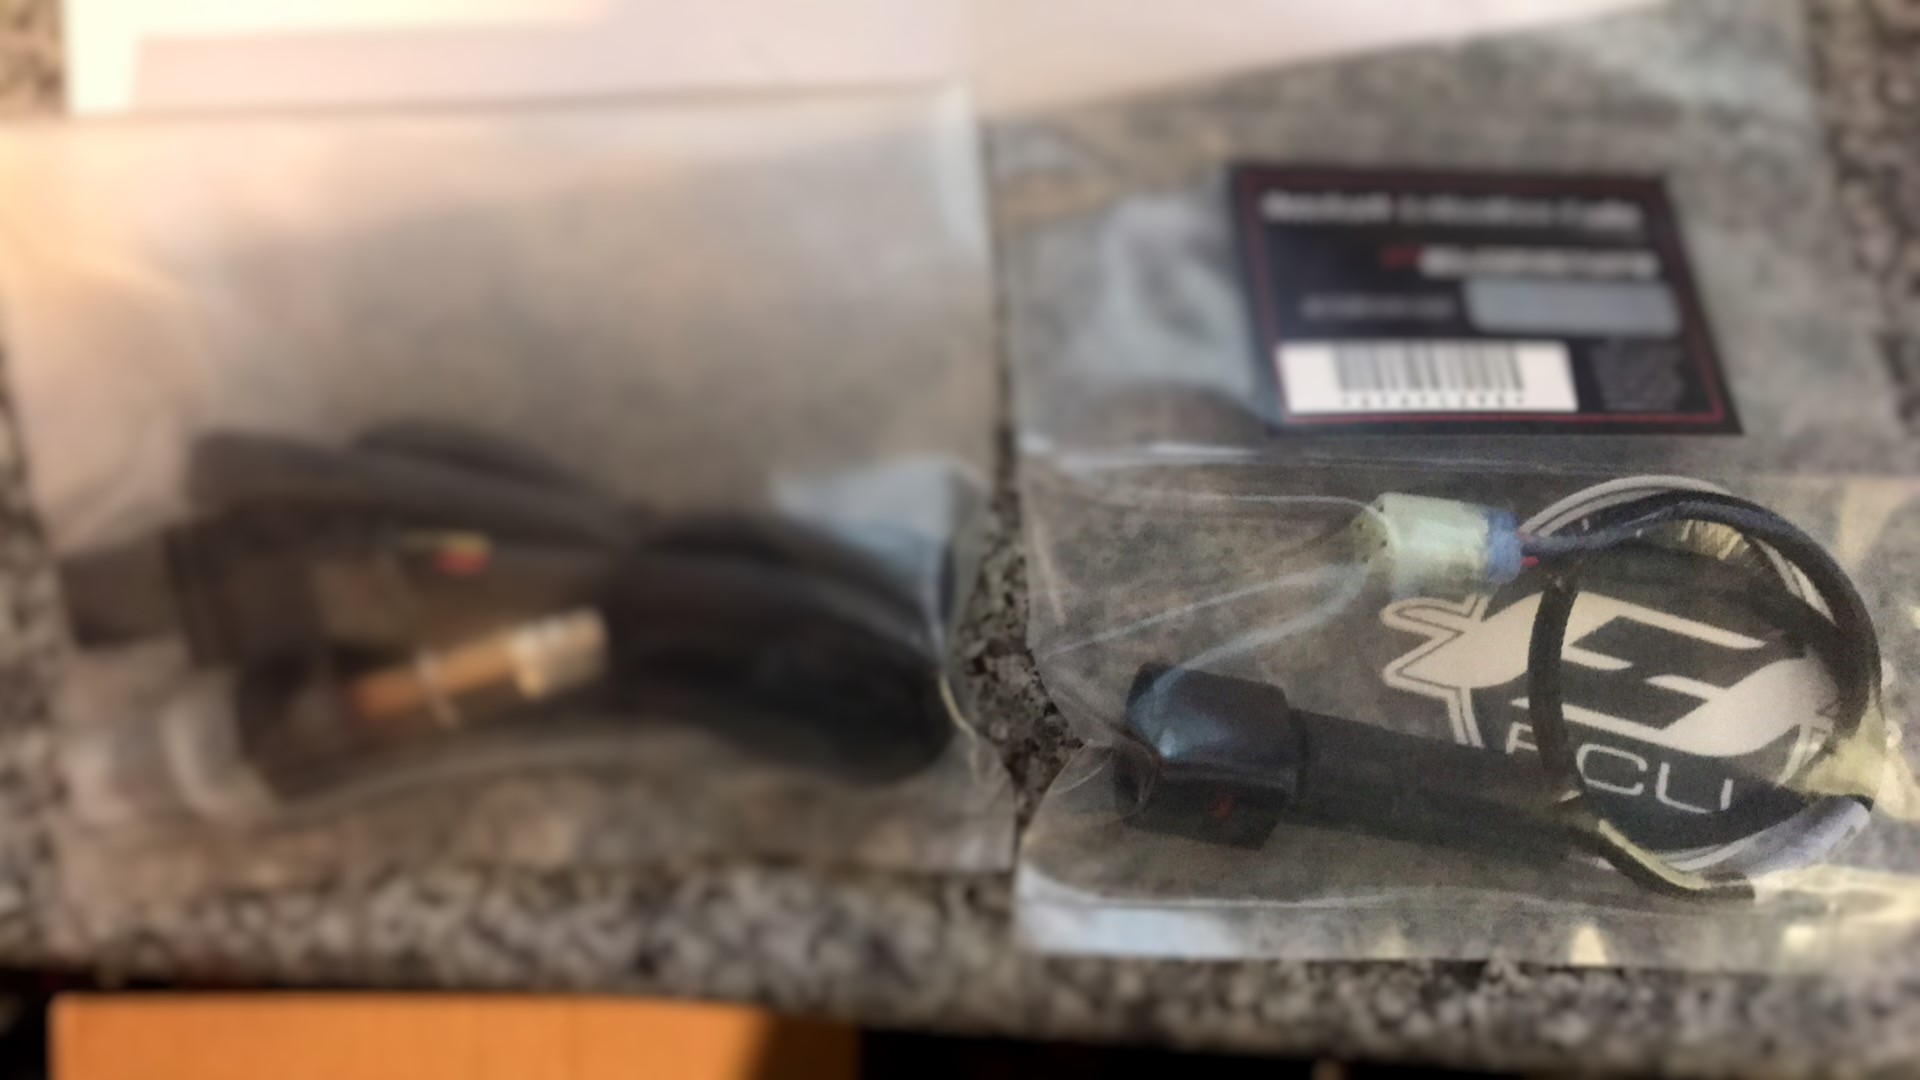
This week FTecu will launch their AutoTune product, named ActiveTune. You can purchase your FTecu Active Tune kit here
Up until recently when you fitted aftermarket exhausts you had to fit a PowerCommander to adjust the fueling.
FTecu have revolutionised motorcycle tuning by adding to what companies like PowerCommander and Bazzaz have available for fueling bikes, to add the de-restriction of the bikes that leave the factory heavily hampered by emissions controls like EURO4 (and from 2017 Euro5).
When doing aftermarket fueling on a PowerCommander (or other third party fueling device) or indeed with FTecu FlashTune for best results a dyno would be required to monitor the ideal Air Fuel Ratio (AFR) of the bike to get the optimal setup, the problem with this is that a dyno setup in southern England on a cold winters day would mean that the fueling would be optimal only at those same conditions, altitude, barometric pressure and with the exact fuel octane used on that day, take the bike to a trackday in Spain, and those same conditions will not exist, for instance on our recent trip to Aragon it was 34 degrees, in the hills (not at sea level) and the fuel we used was 98 Octane, yet in Le Mans earlier this year the temperature was 40 degrees and much lower altitude and with 99 octane fuel, yet the bike was setup on a dyno in the UK at sea level on a mild spring day.
So the solution for the past few years has been the use of “autotune” products, bolt on solutions from PowerCommander, Bazzaz and Woolich racing that log the real world AFR the bike is achieving using a wide band Lambda (o2) sensor in the exhaust, after a session riding you stop and read the data from the AutoTune device and then you apply the trimmed fuel settings it suggests to the aftermarket device and go out and ride it again and then read the new readings out and apply the new suggested trim settings. As conditions change throughout the day obviously the suggested trim settings will change and so the continual changes to the bike are required. Of course most people don’t bother making these changes as either they don’t know that AutoTune is not actually automatically tuning the bike so they just find it is a hassle so they ride the bike without the optimal performance settings in the fueling for the conditions.
Also important to note all other “autotune” products just read the AFR of the lambda/o2 sensor, ActiveTune from FTecu doesn’t just read AFR it is looking at engine sensors and uses it’s own algorithm to tune the bike on the fly as you ride.
We don’t think that is ideal, and certainly not “autotuning” so FTecu have been working to release the ultimate autotune solution……. ActiveTune.
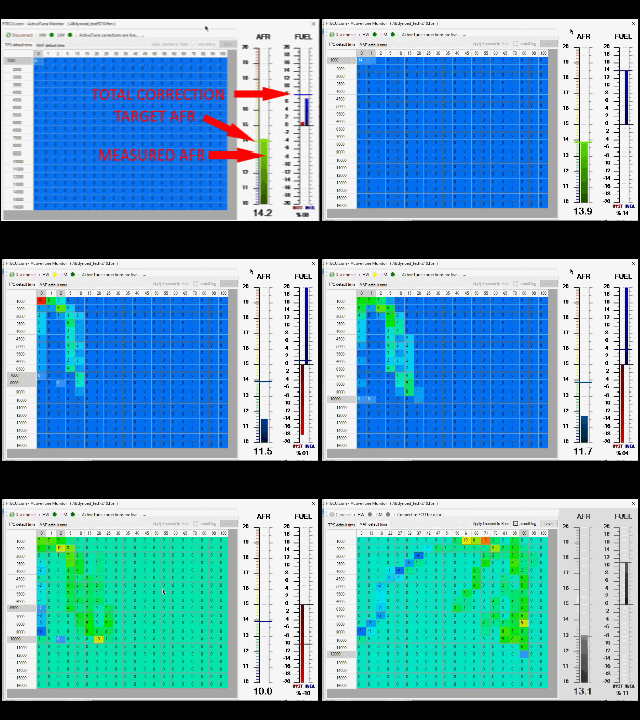
ActiveTune is a wideband lambda sensor that plugs into the exhaust with an ActiveTune controller attached that passes the AFR data to the ECU, in conjunction with FTecu’s leading ECU tuning solution FlashTune Tuning Suite this data is then interpreted on the fly as the bike is ridden and the preset AFR target is maintained in real time, regardless of the atmospheric conditions, altitude, temperature or fuel quality being used, and most importantly with no intervention from the rider.
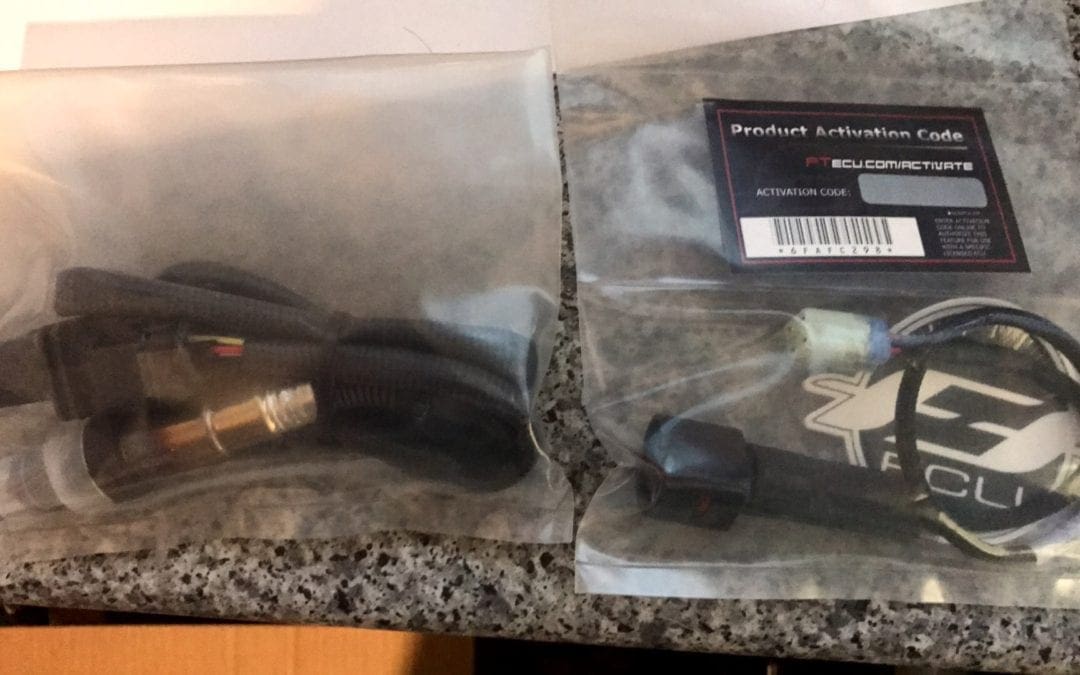
Pricing will be £326.41 for the FTecu ActiveTune kit which includes a wideband Lambda sensor, ActiveTune Controller and Activation code, the user will need a FTecu bike side kit to enable and setup the ActiveTune and this is priced at £320.00 both prices exclude VAT and postage.
We believe for customers without access to a dyno, the standard derestricted map in FTecu FlashTune Tuning Suite in conjunction with the ActiveTune product will get them a bike much more rideable and with more power throughout the rpm range. Because FTecu is not just about fueling, but throttle, engine braking and traction control electronics there is still more gains to be had from having the motorcycle professionally mapped by an approved and experienced FTecu dealer on their dyno and then use ActiveTune to refine that mapping as conditions, location, fuel change.
So how simple is the setup of FTecu ActiveTune ? VERY, here are the steps we took on our test R1 2016
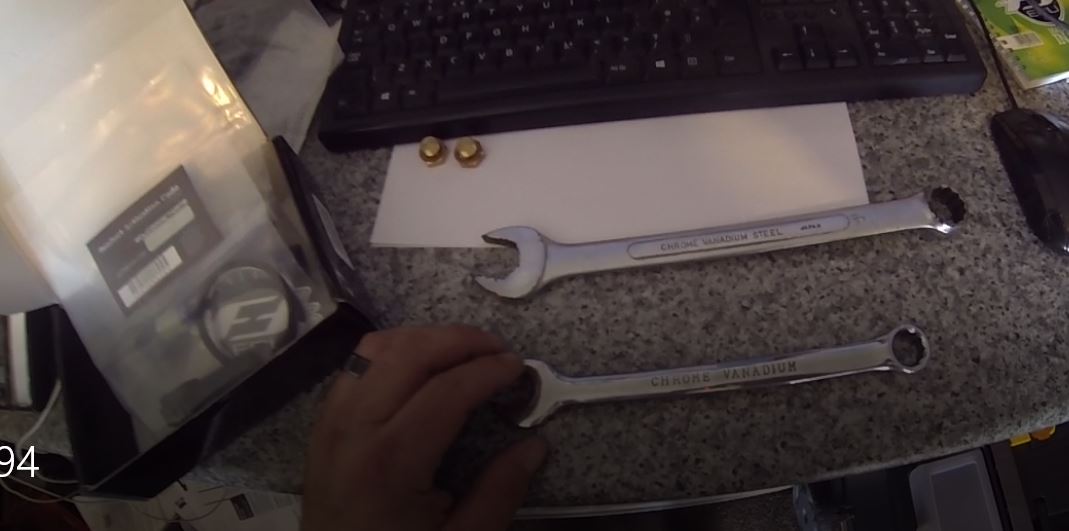
You will need Allen keys, a 22mm and a 17mm spanner as well and some cable ties to secure the cables. and of course the Ftecu ActiveTune Kit (lambda sensor, ActriveTune controller and activation scratch card), you will need a FTecu Bike (6P_FTDL_08) kit or a Ftecu bench kit (6P_BNKT_18) for the 2015 R1+ to flash the bike and enable ActiveTune. You also need a decat pipe with a M18x1.5 bung hole in, most exhaust manufacturers have these in them and two blanking nuts/bungs for the OEM lambda holes, good exhaust suppliers such as our Spark Exhaust systems for the R1 come with all thee things as standard, if not speak to your supplier or look on ebay.
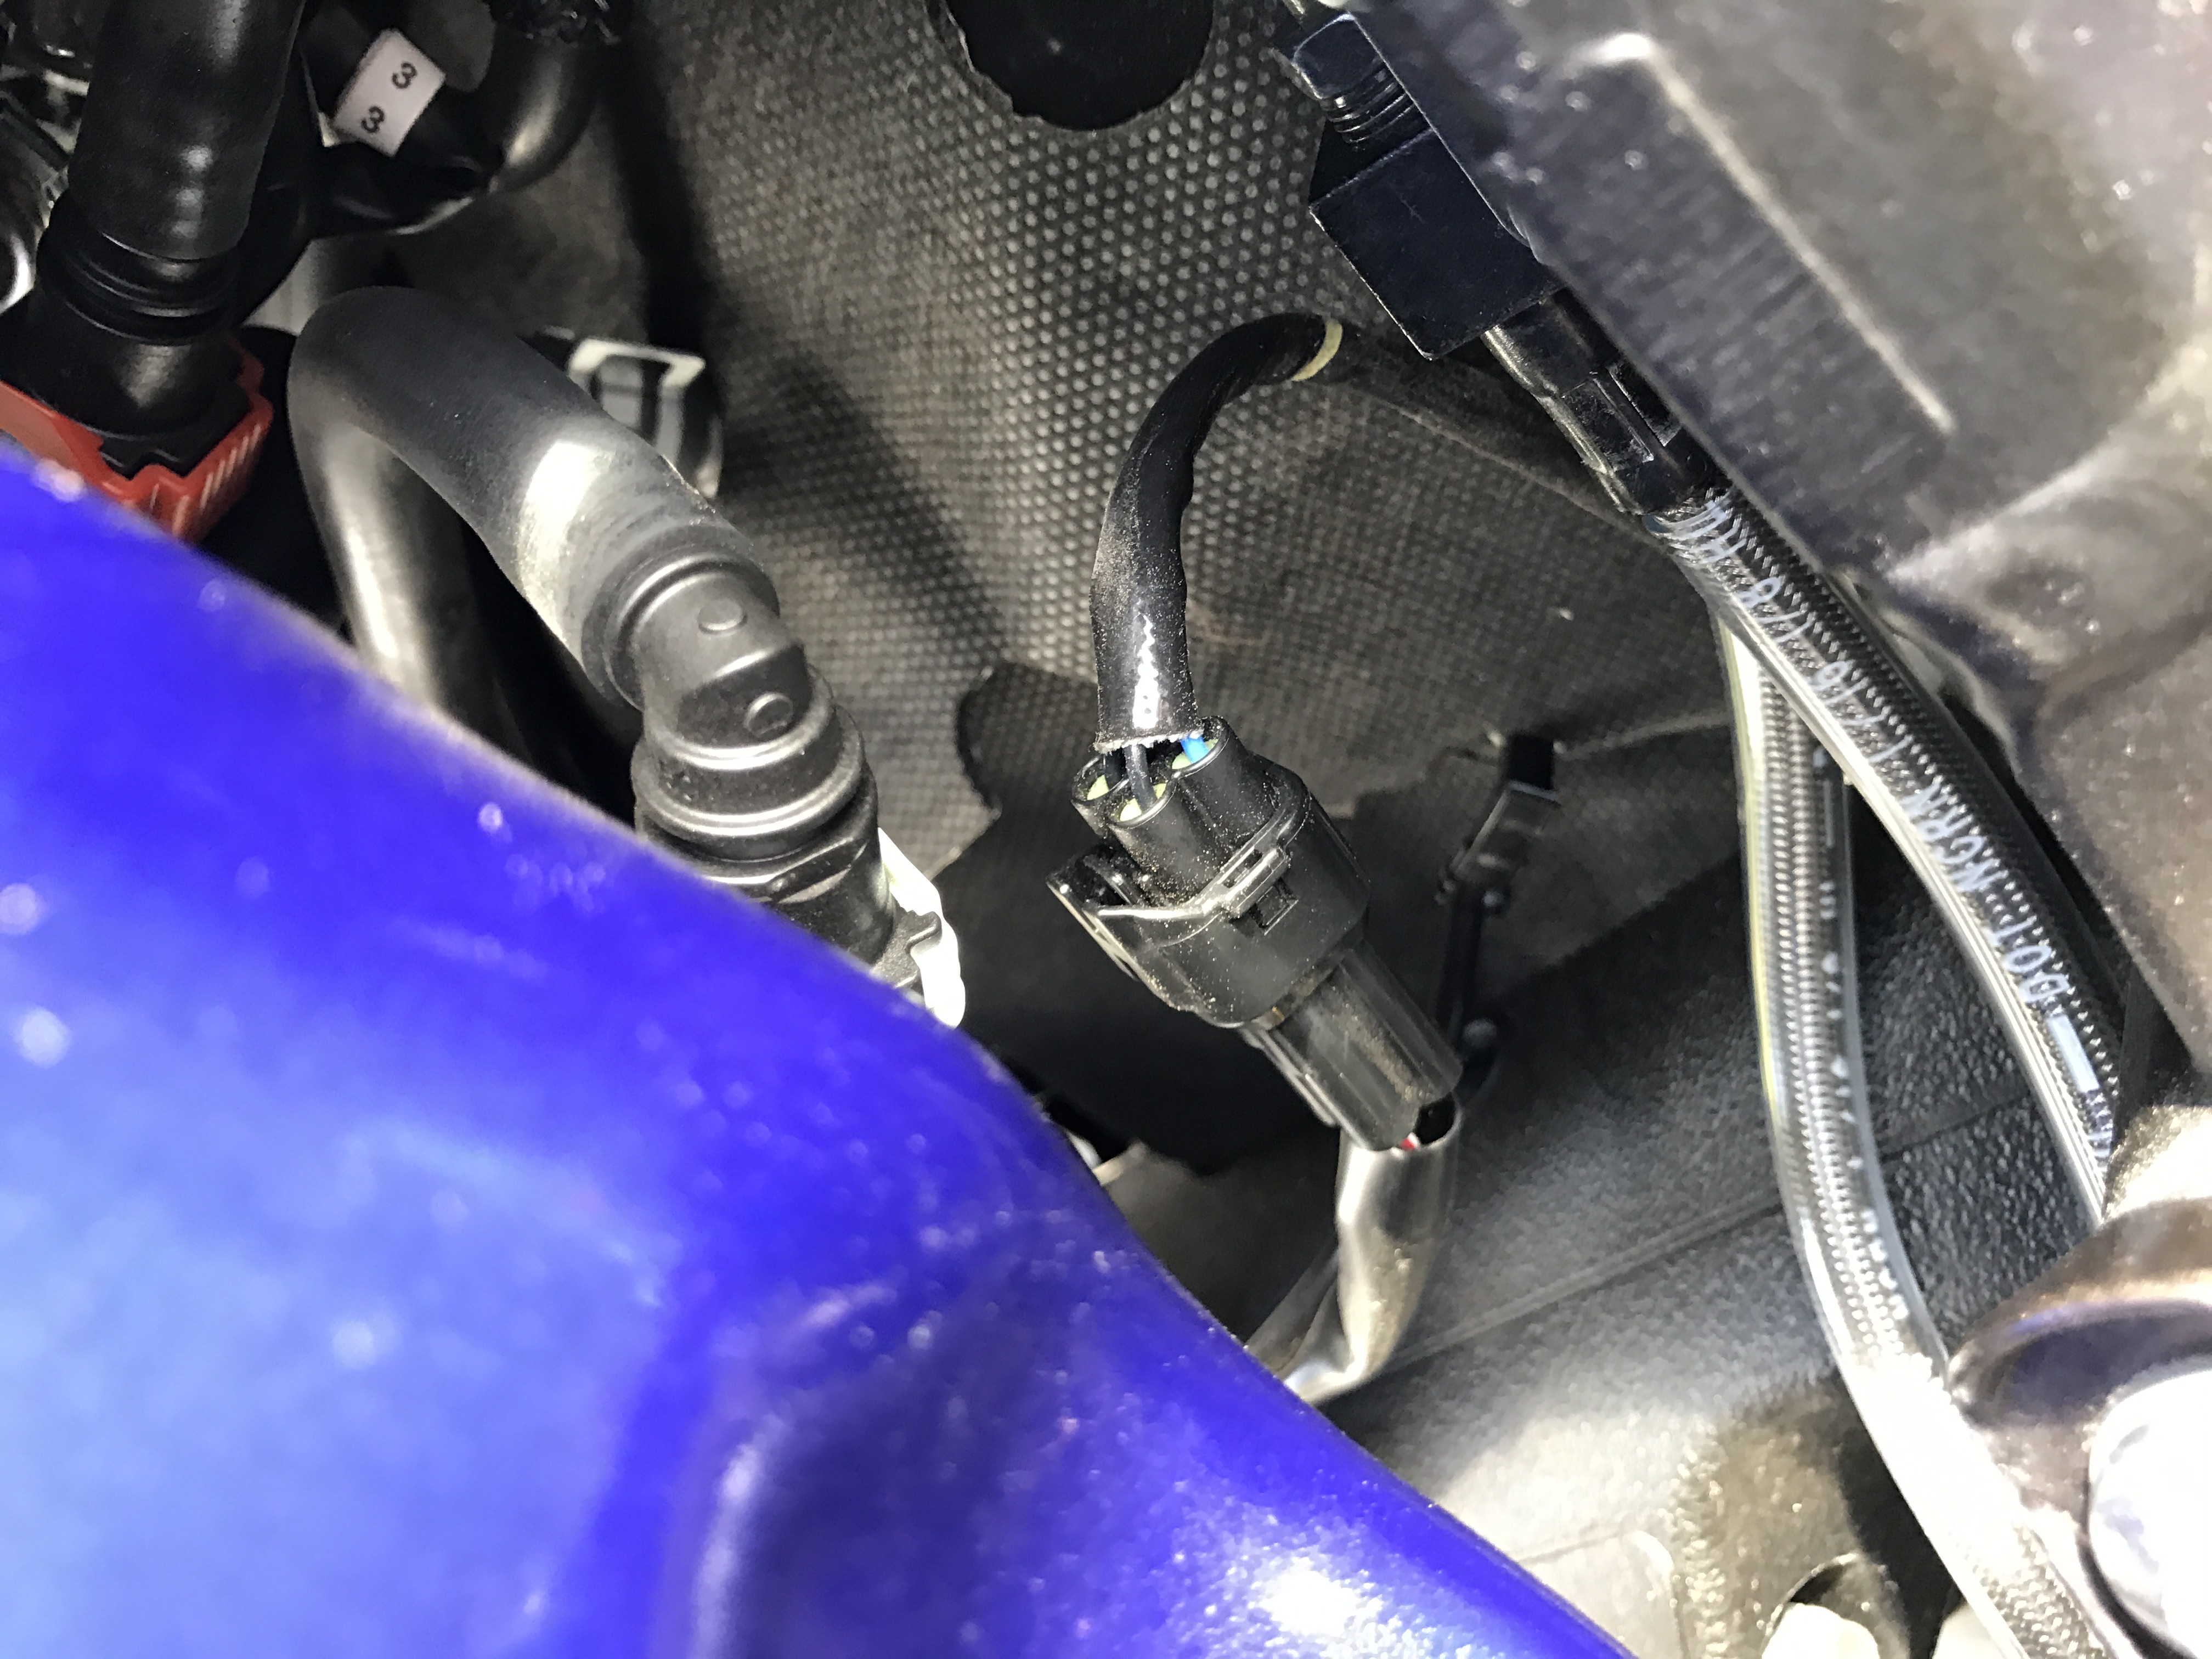
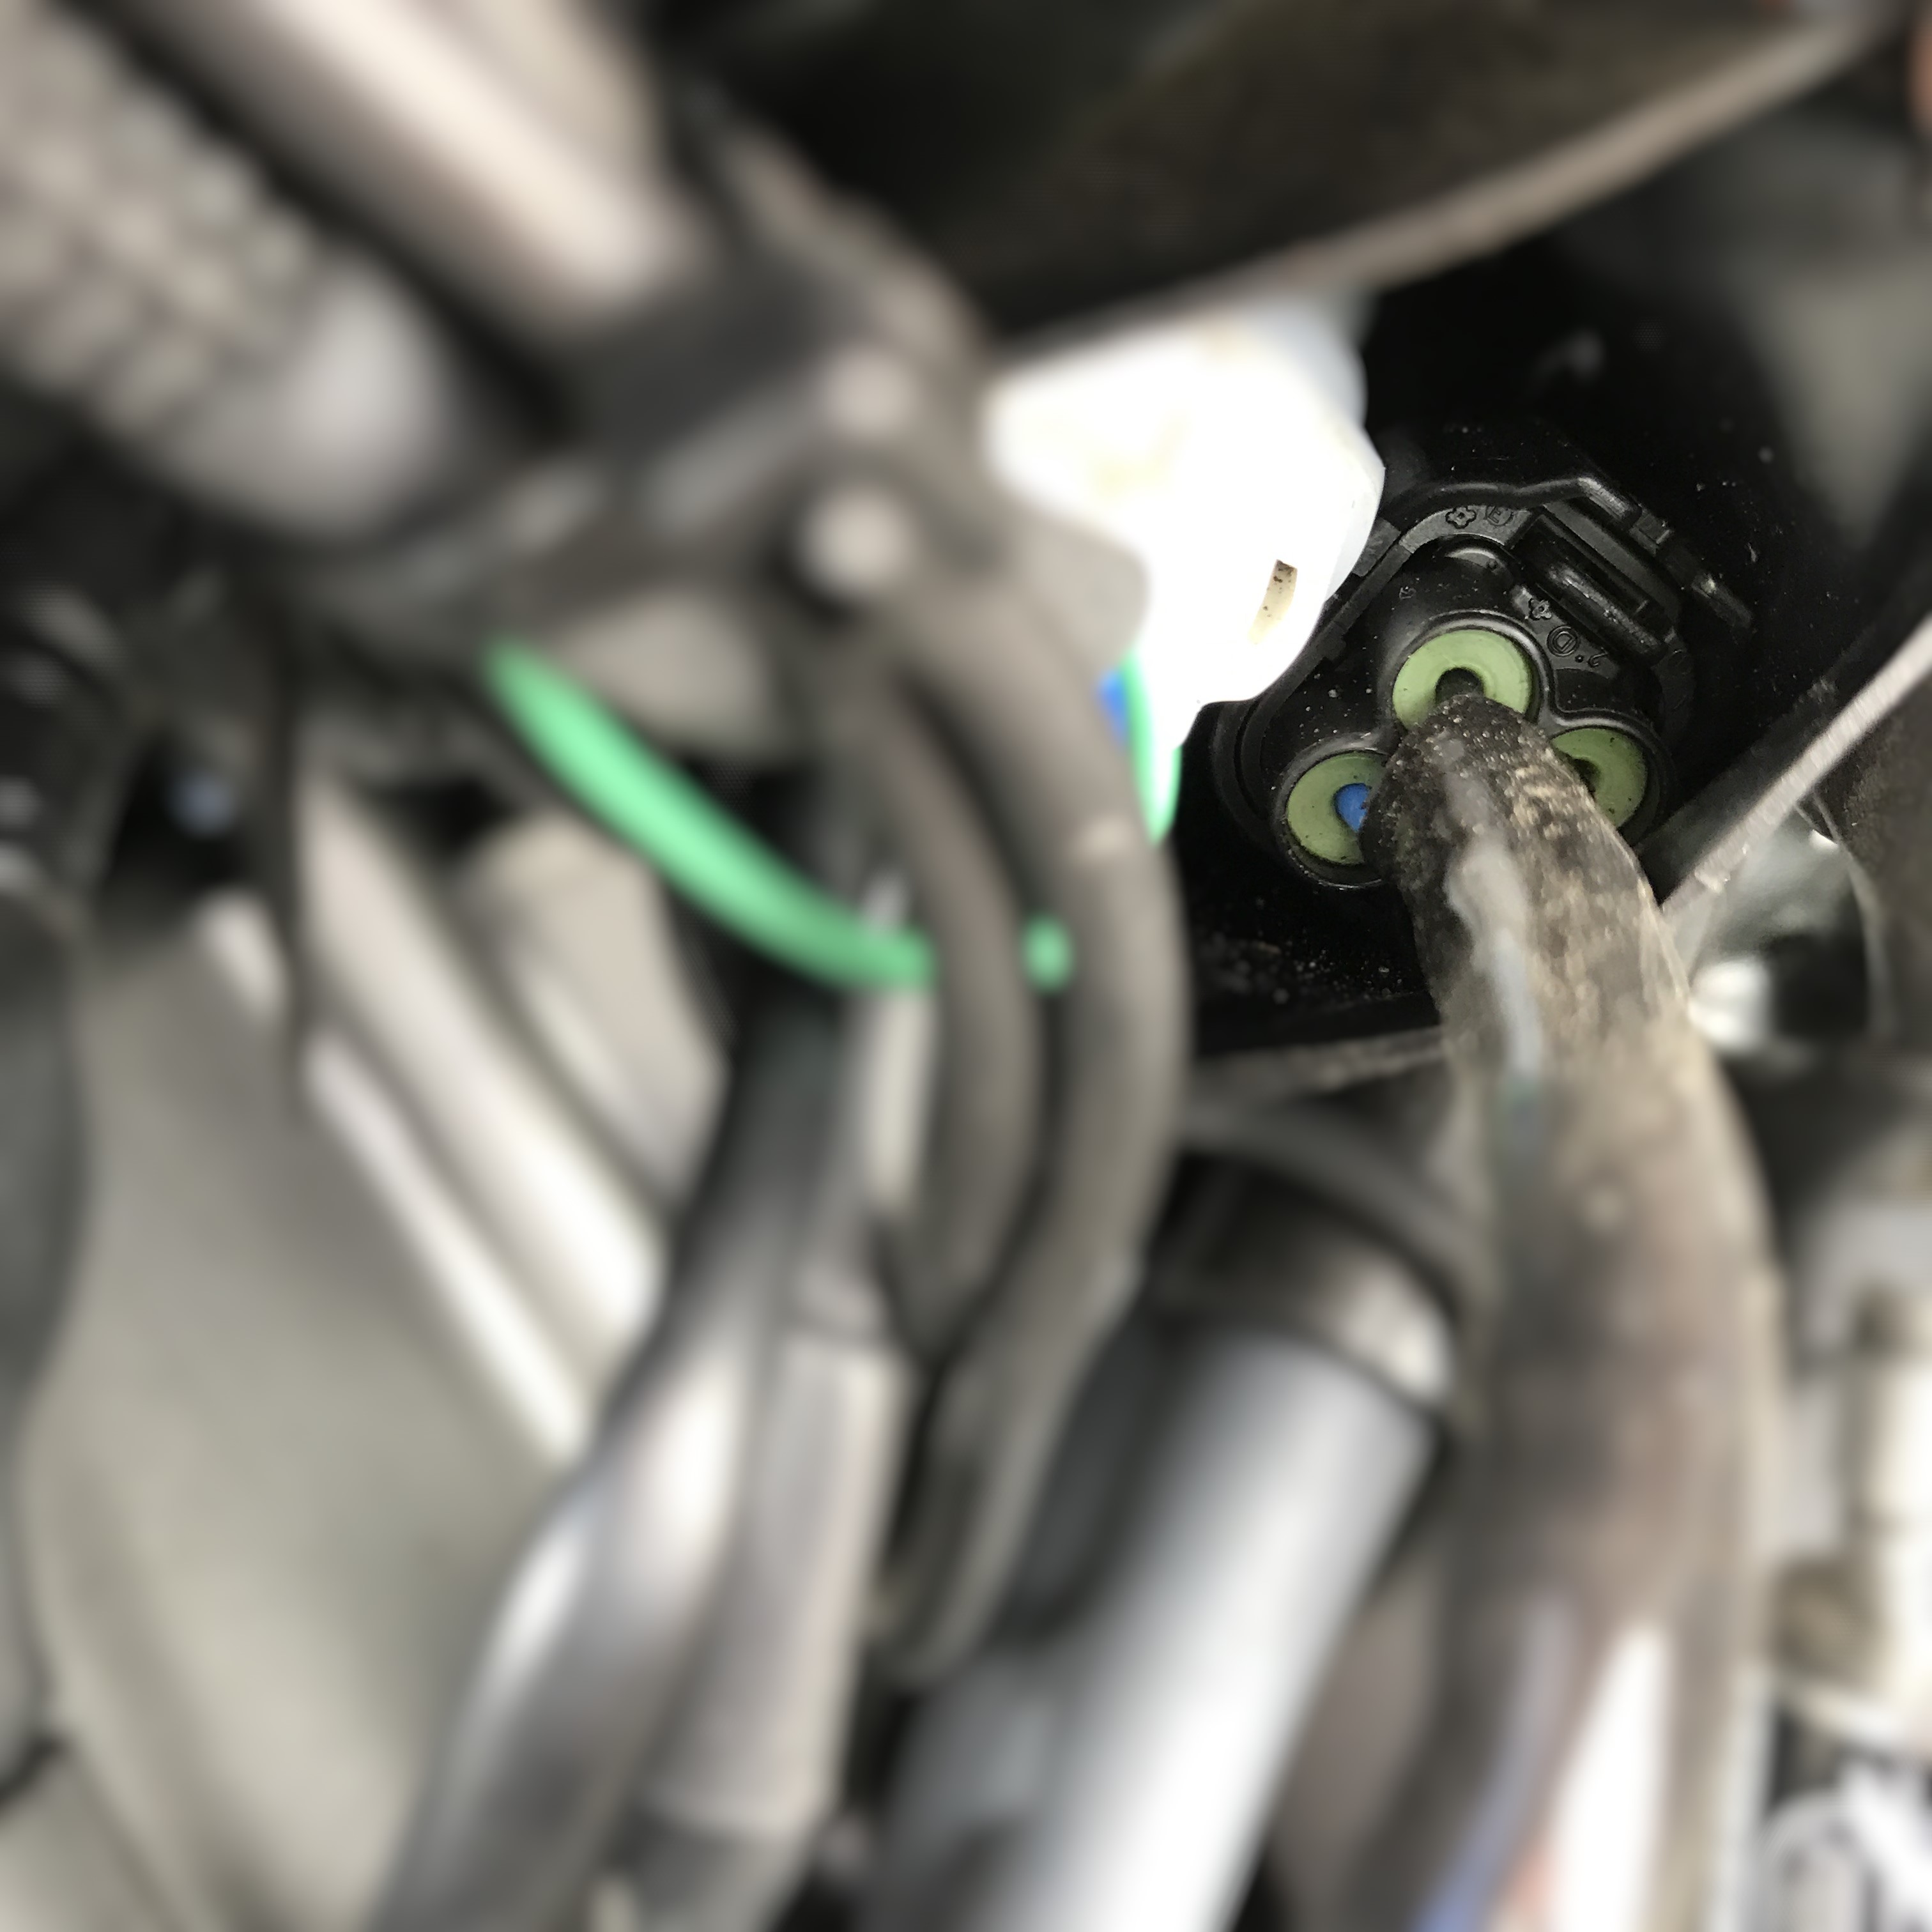
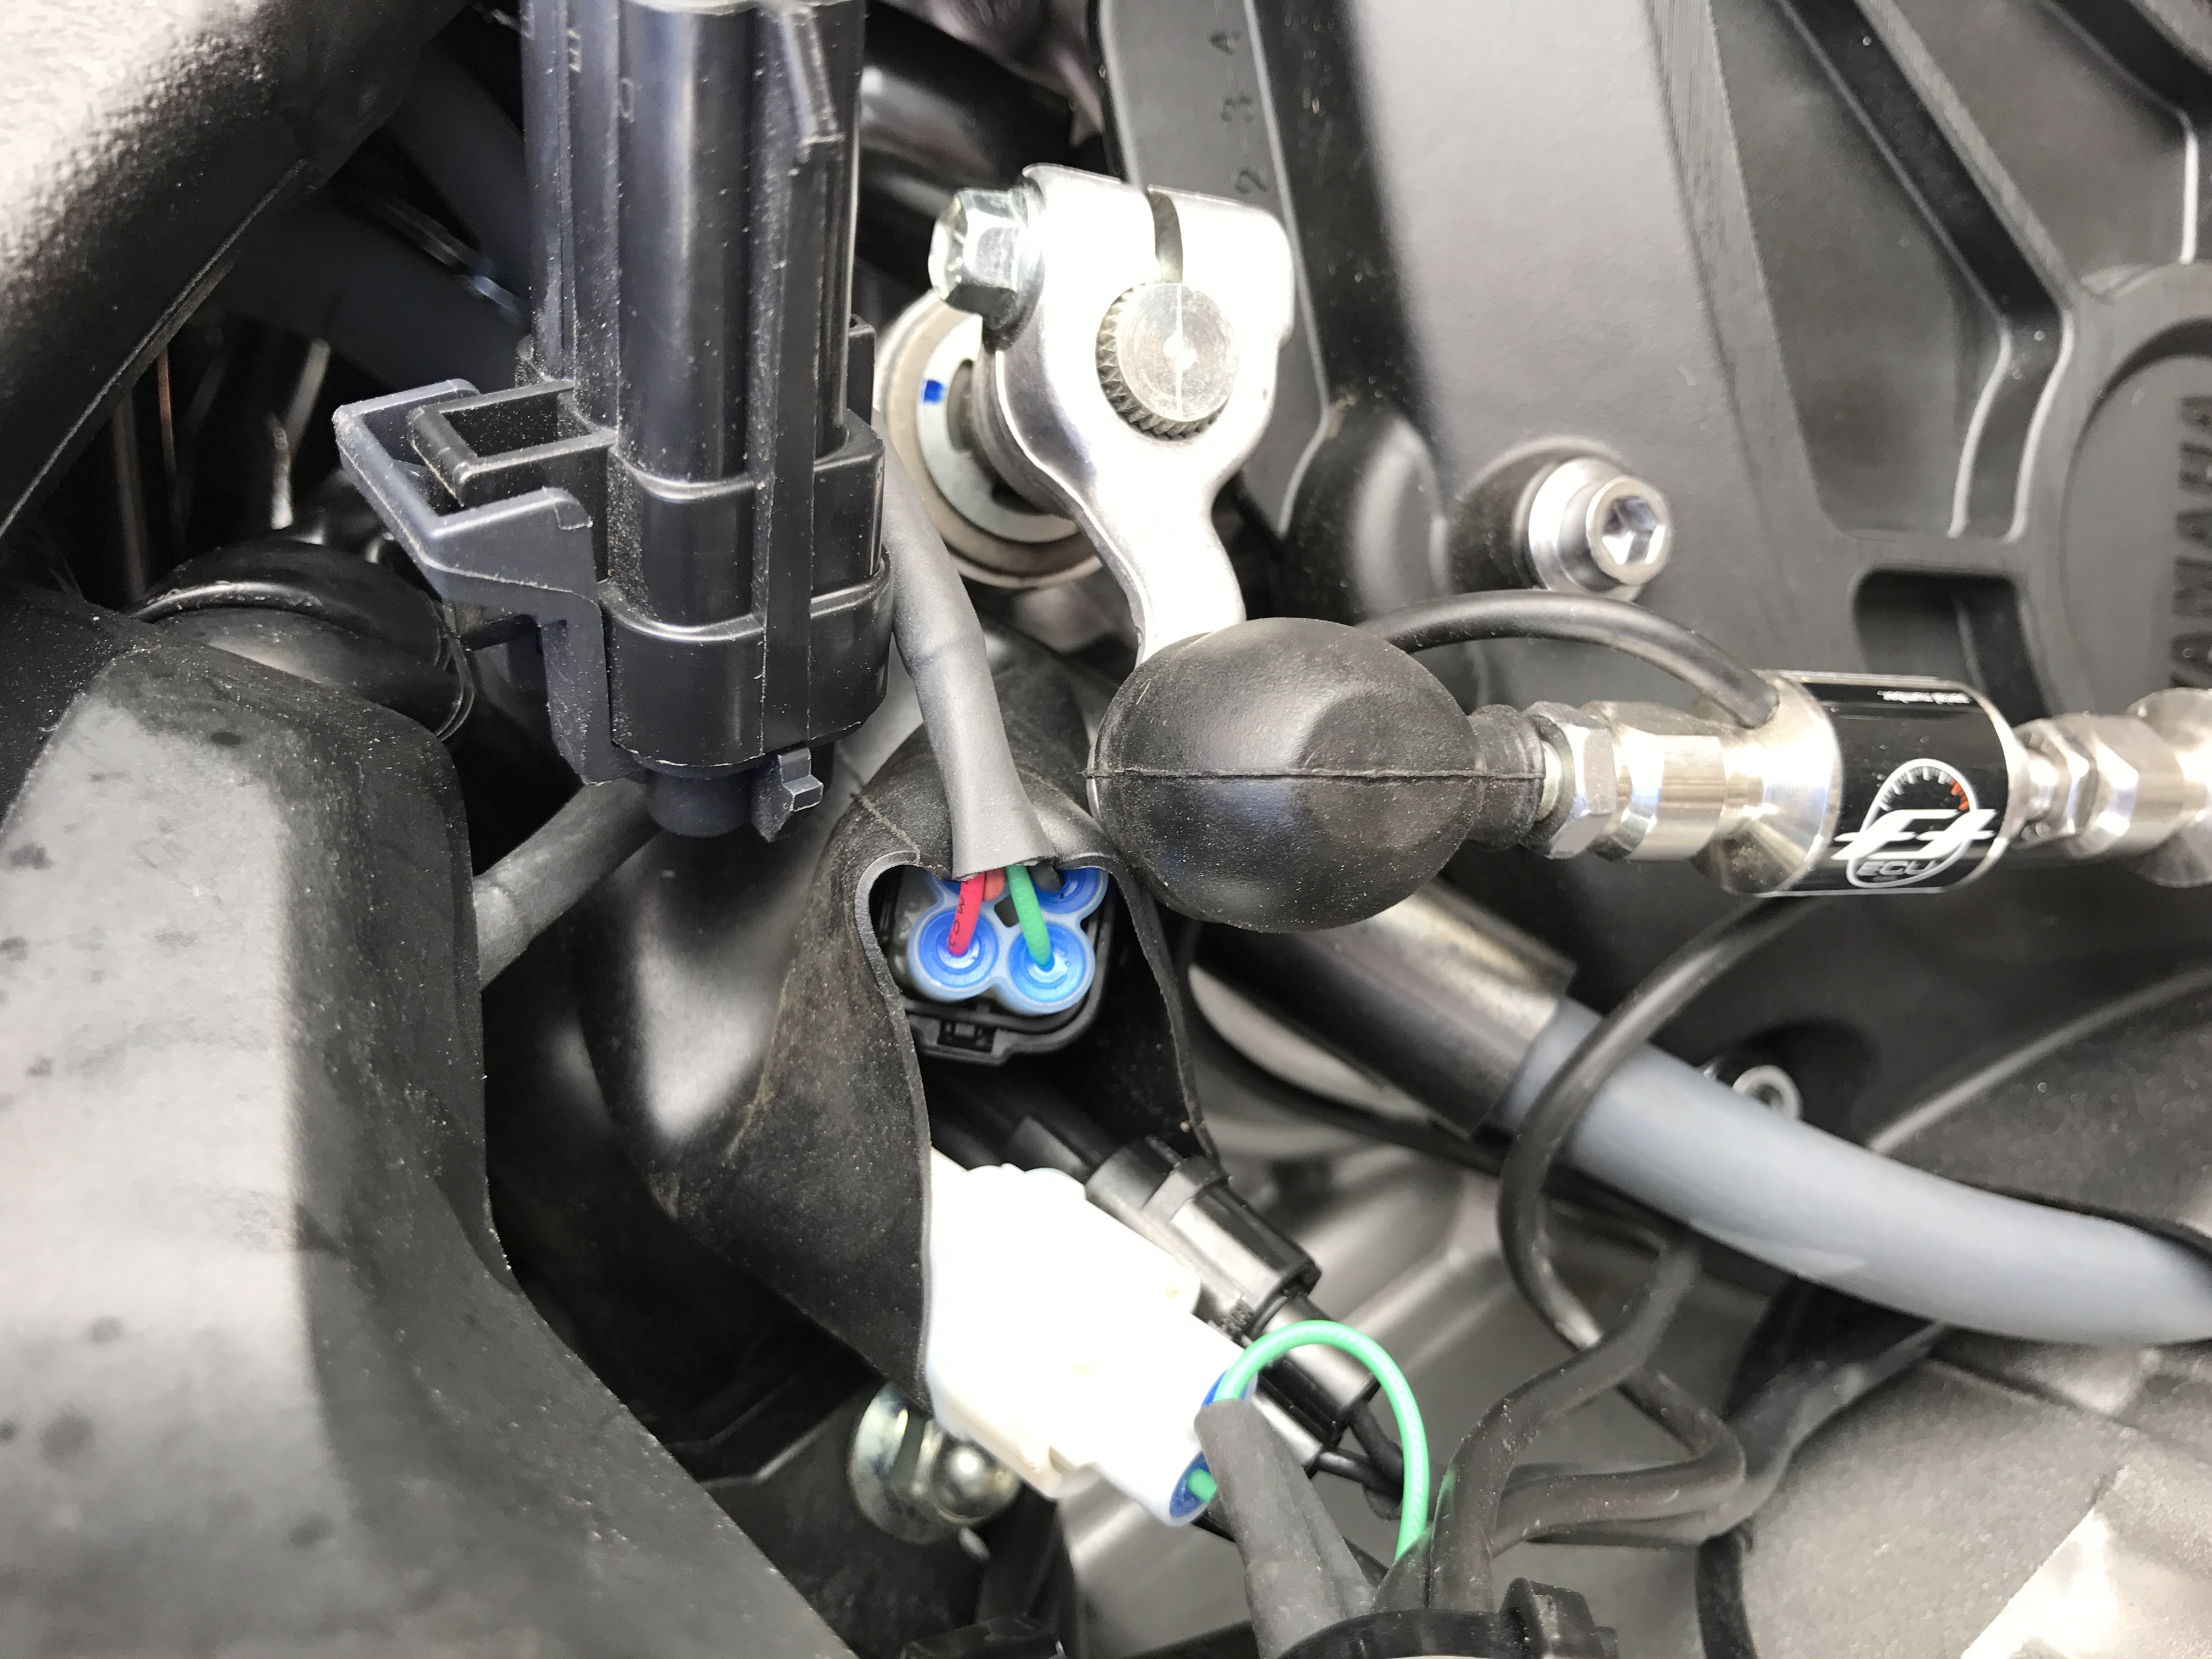
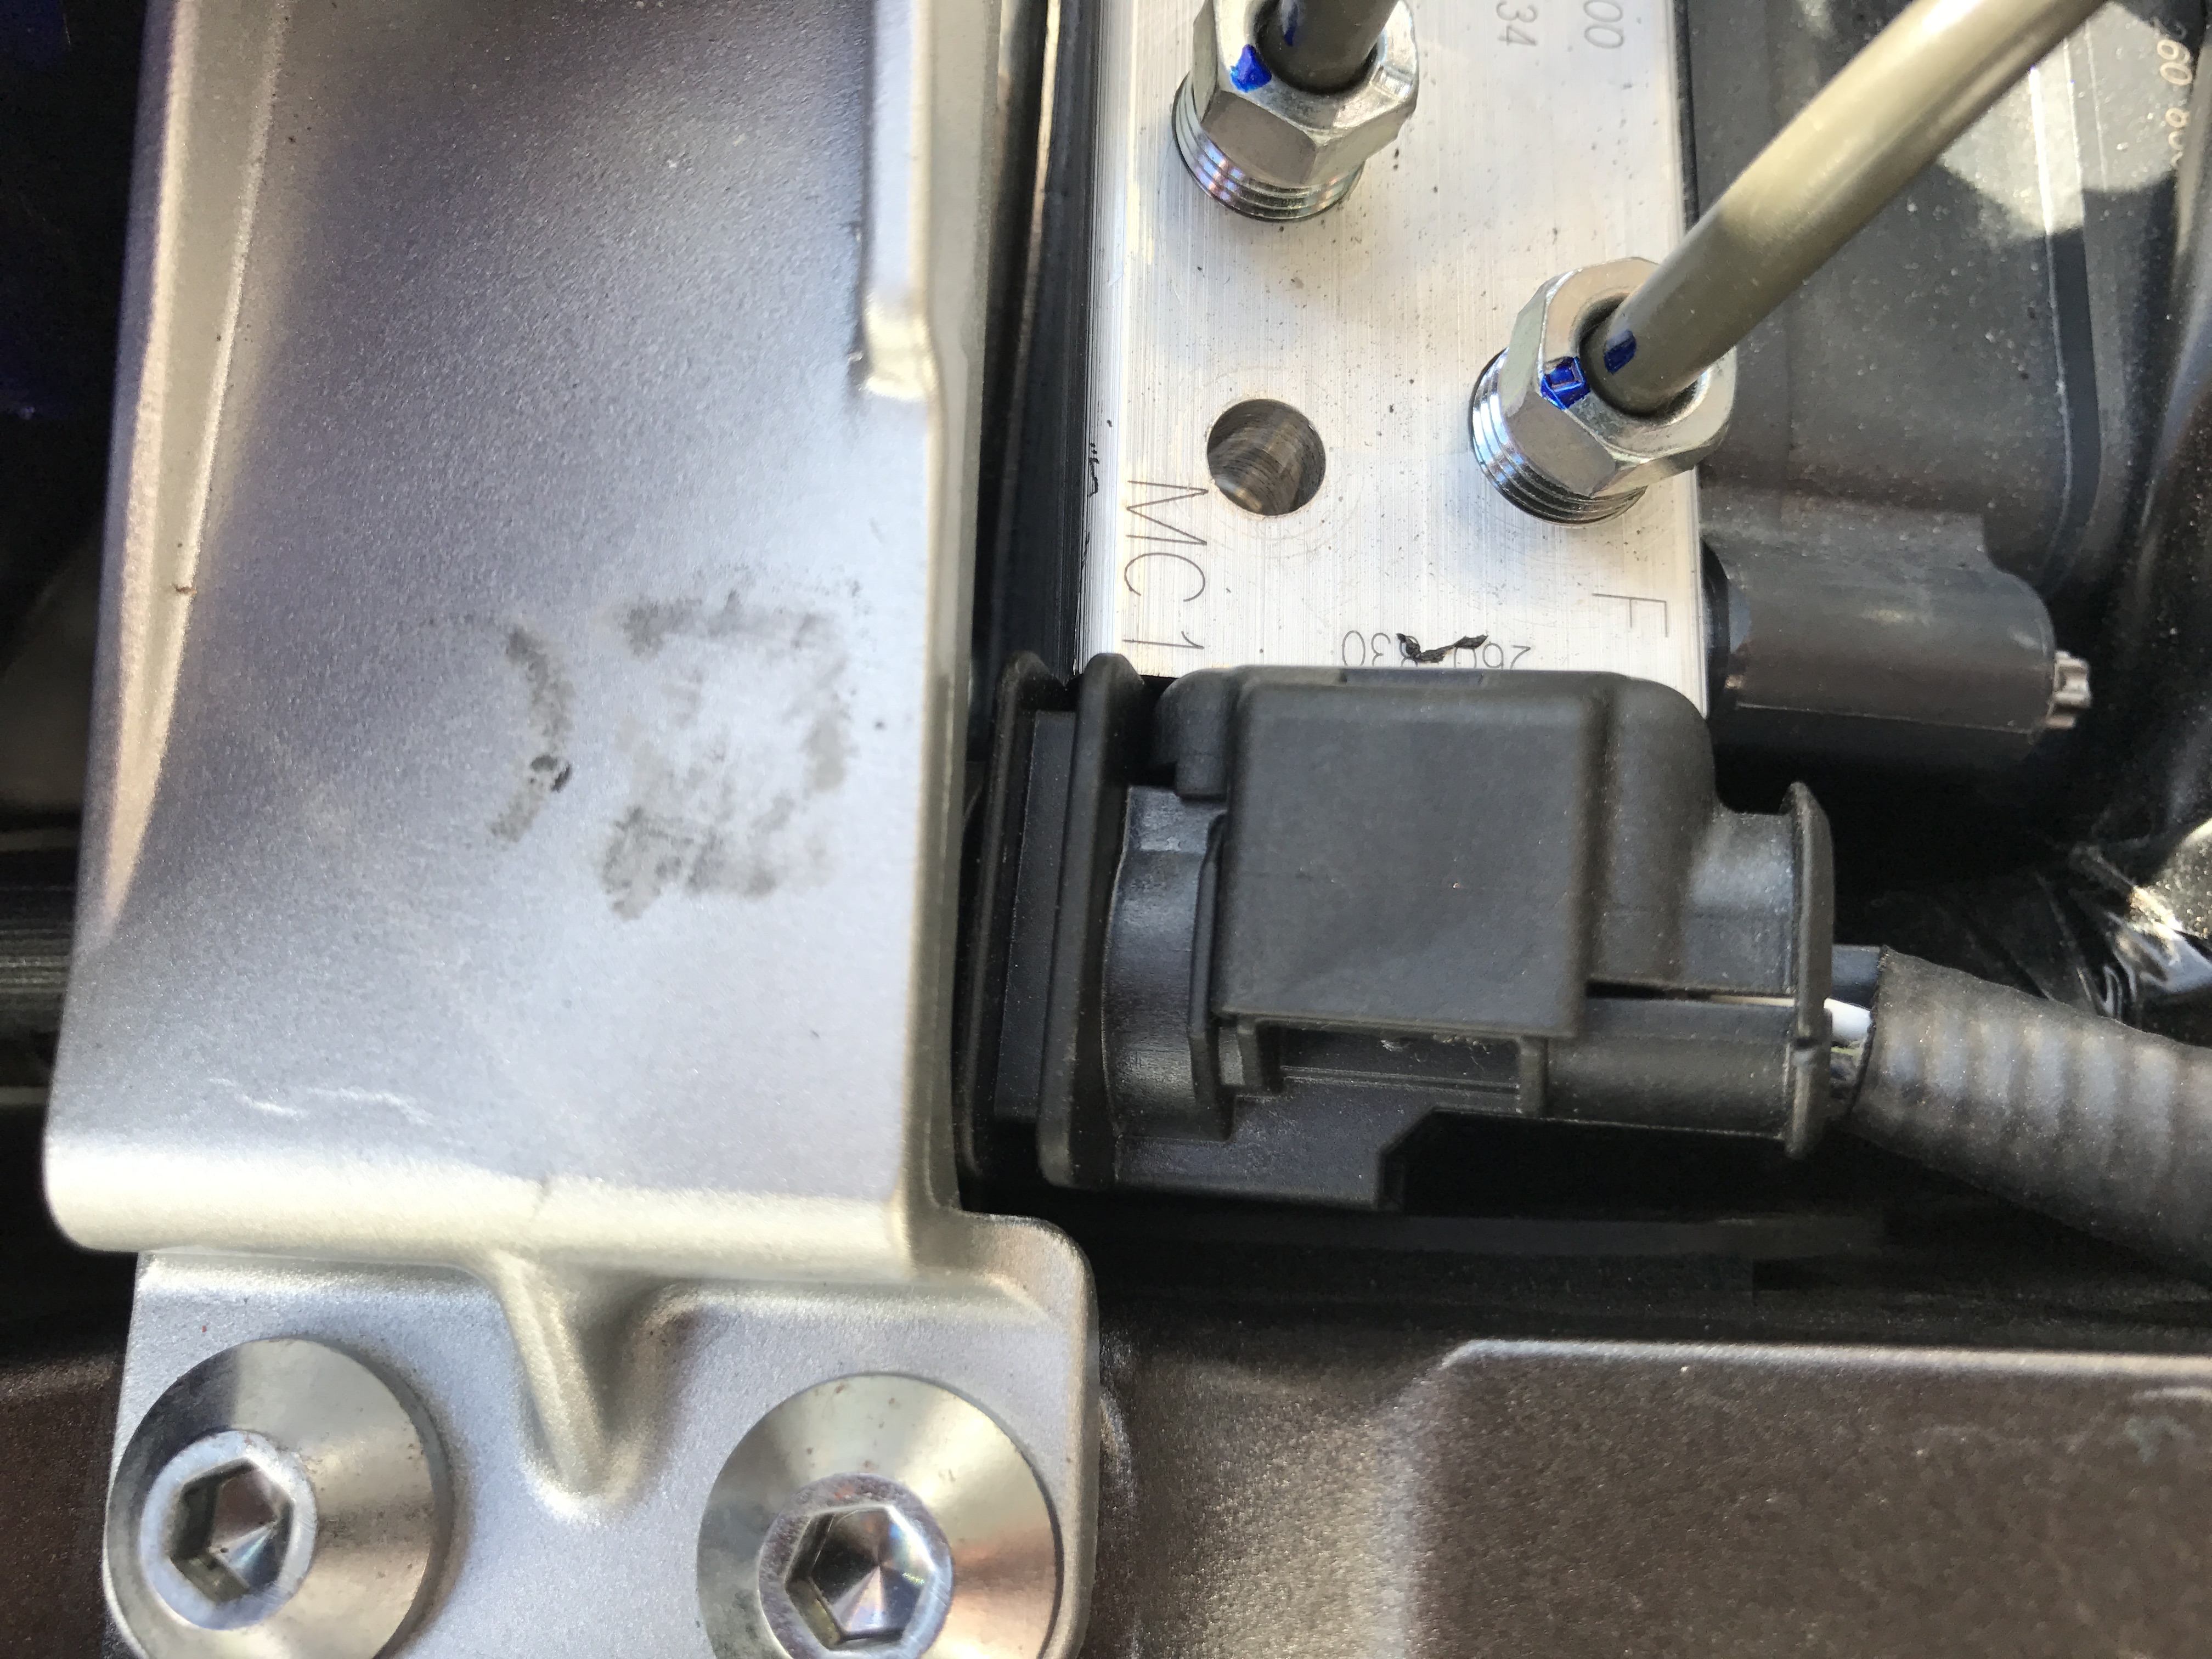
The Left Lambda sensor plugs in near the ECU connector on the left hand side, we did not need to remove anything to get to this socket.
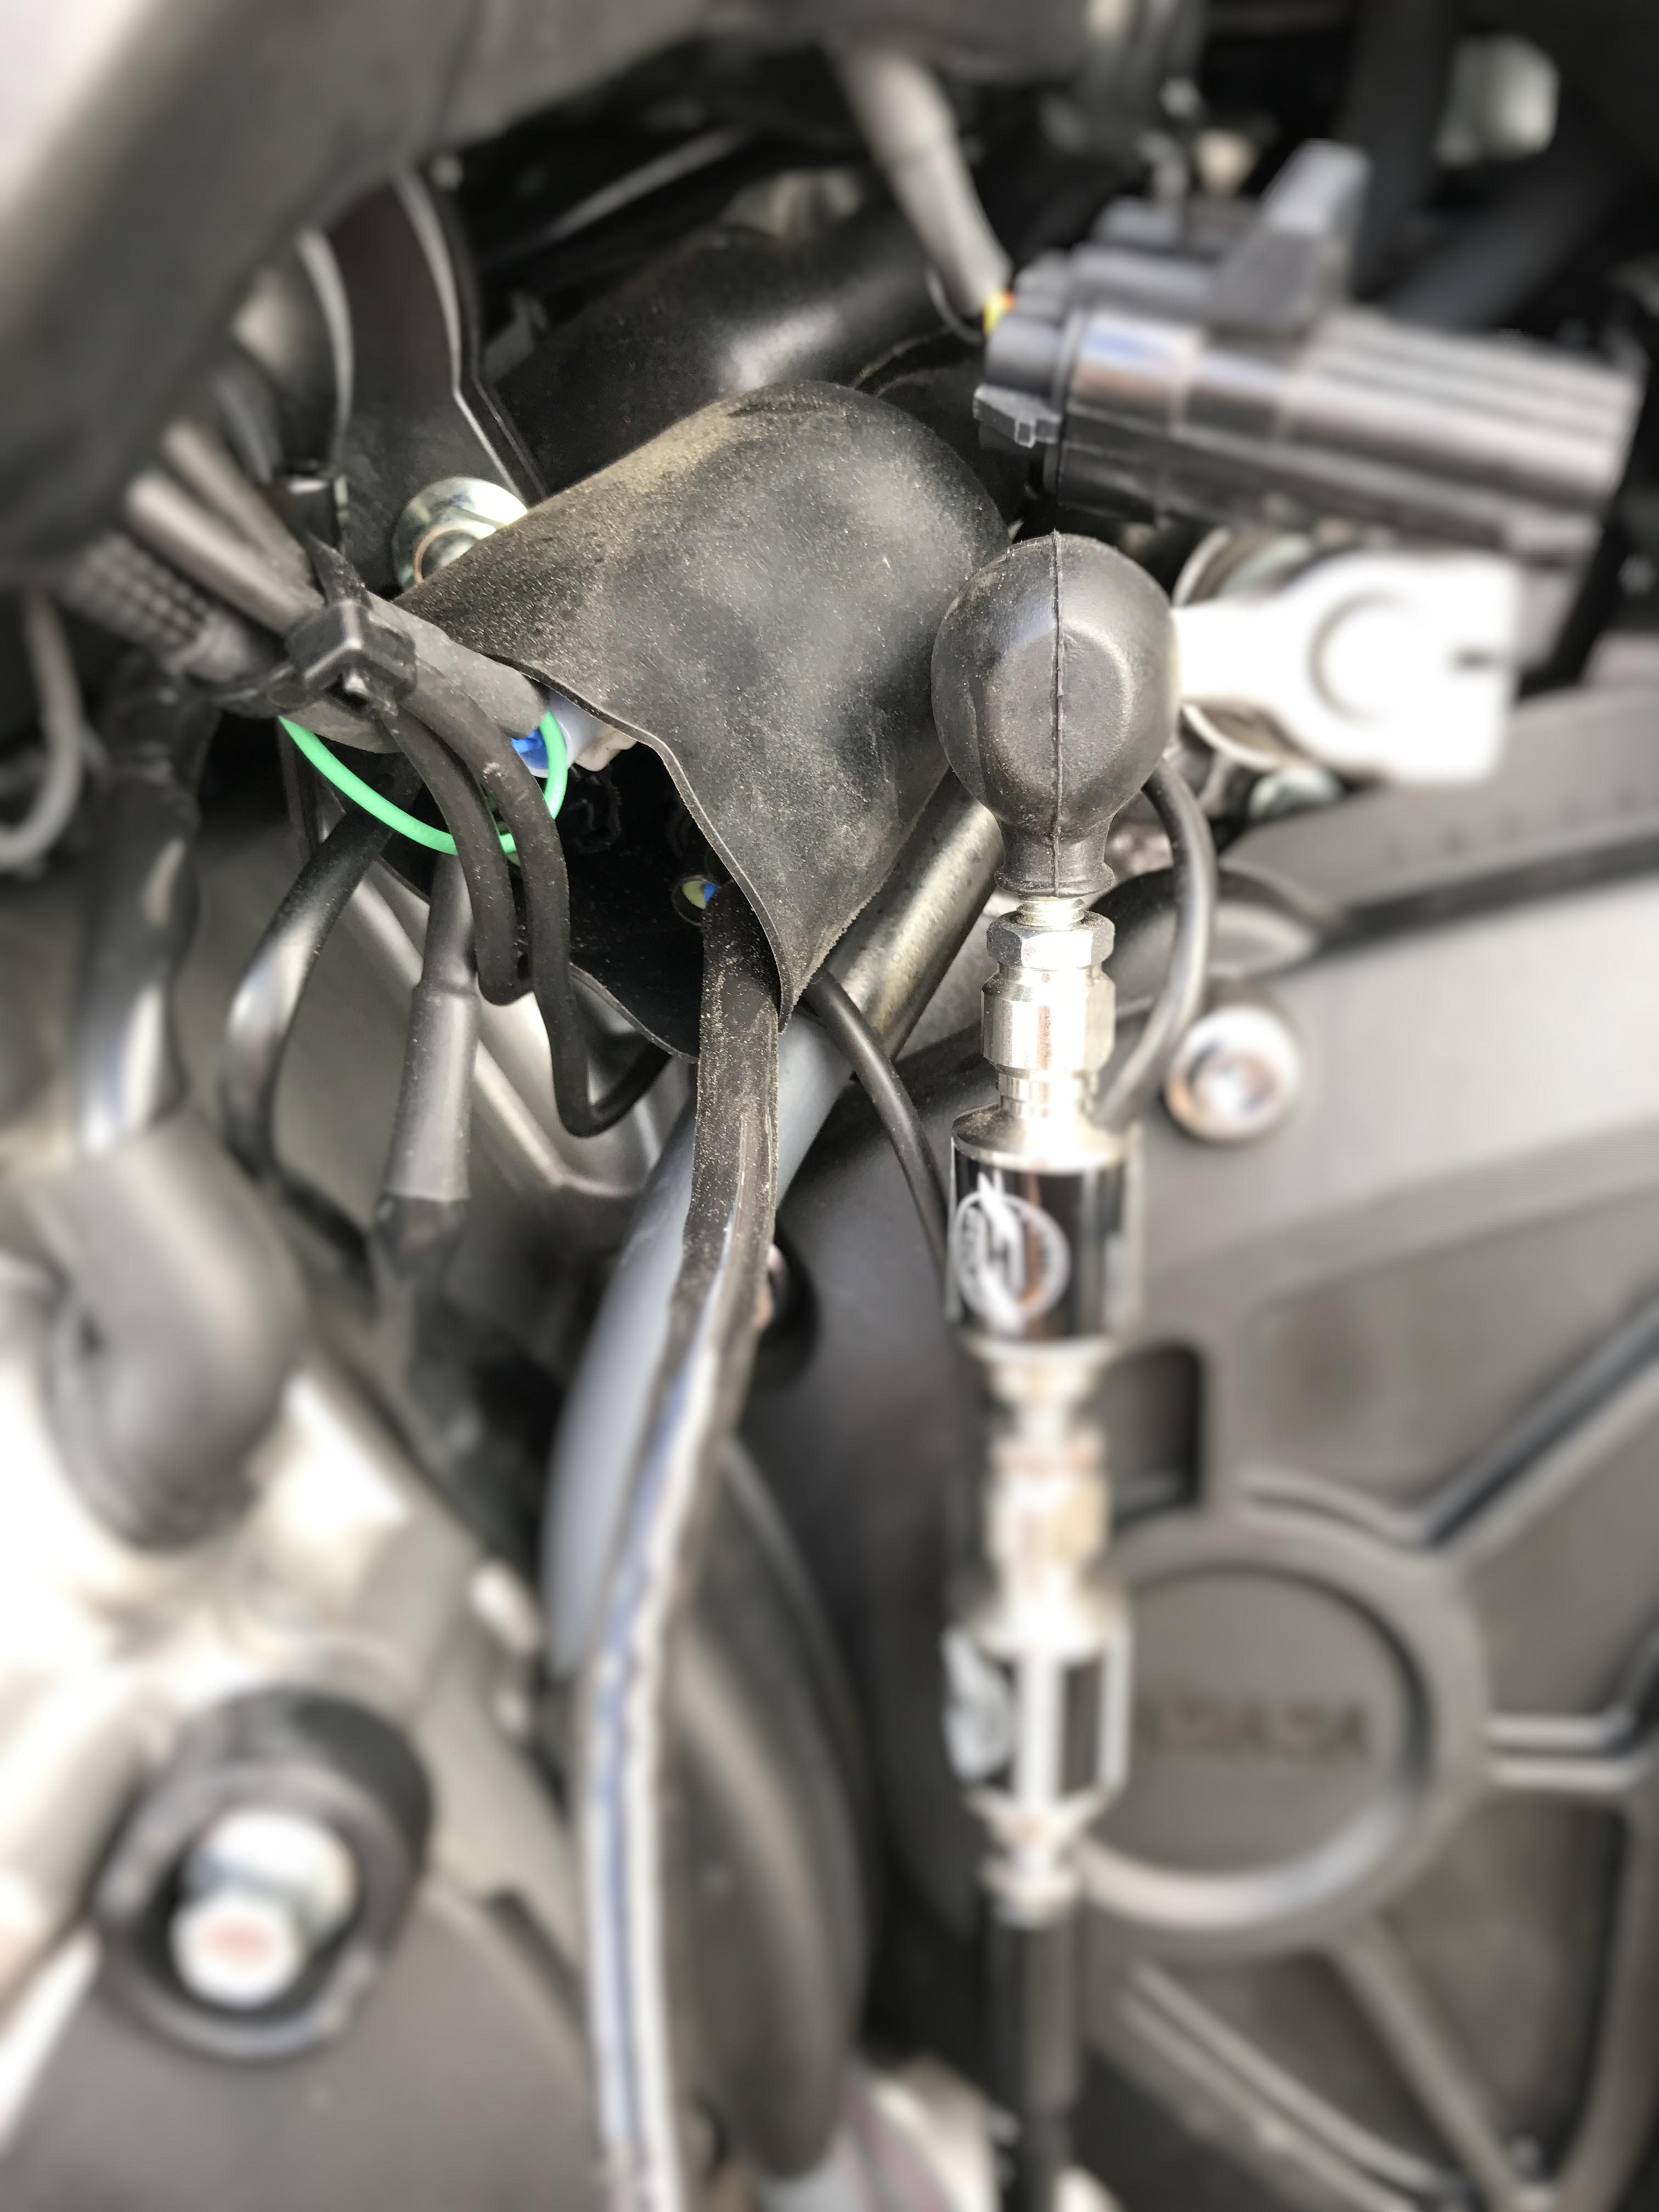
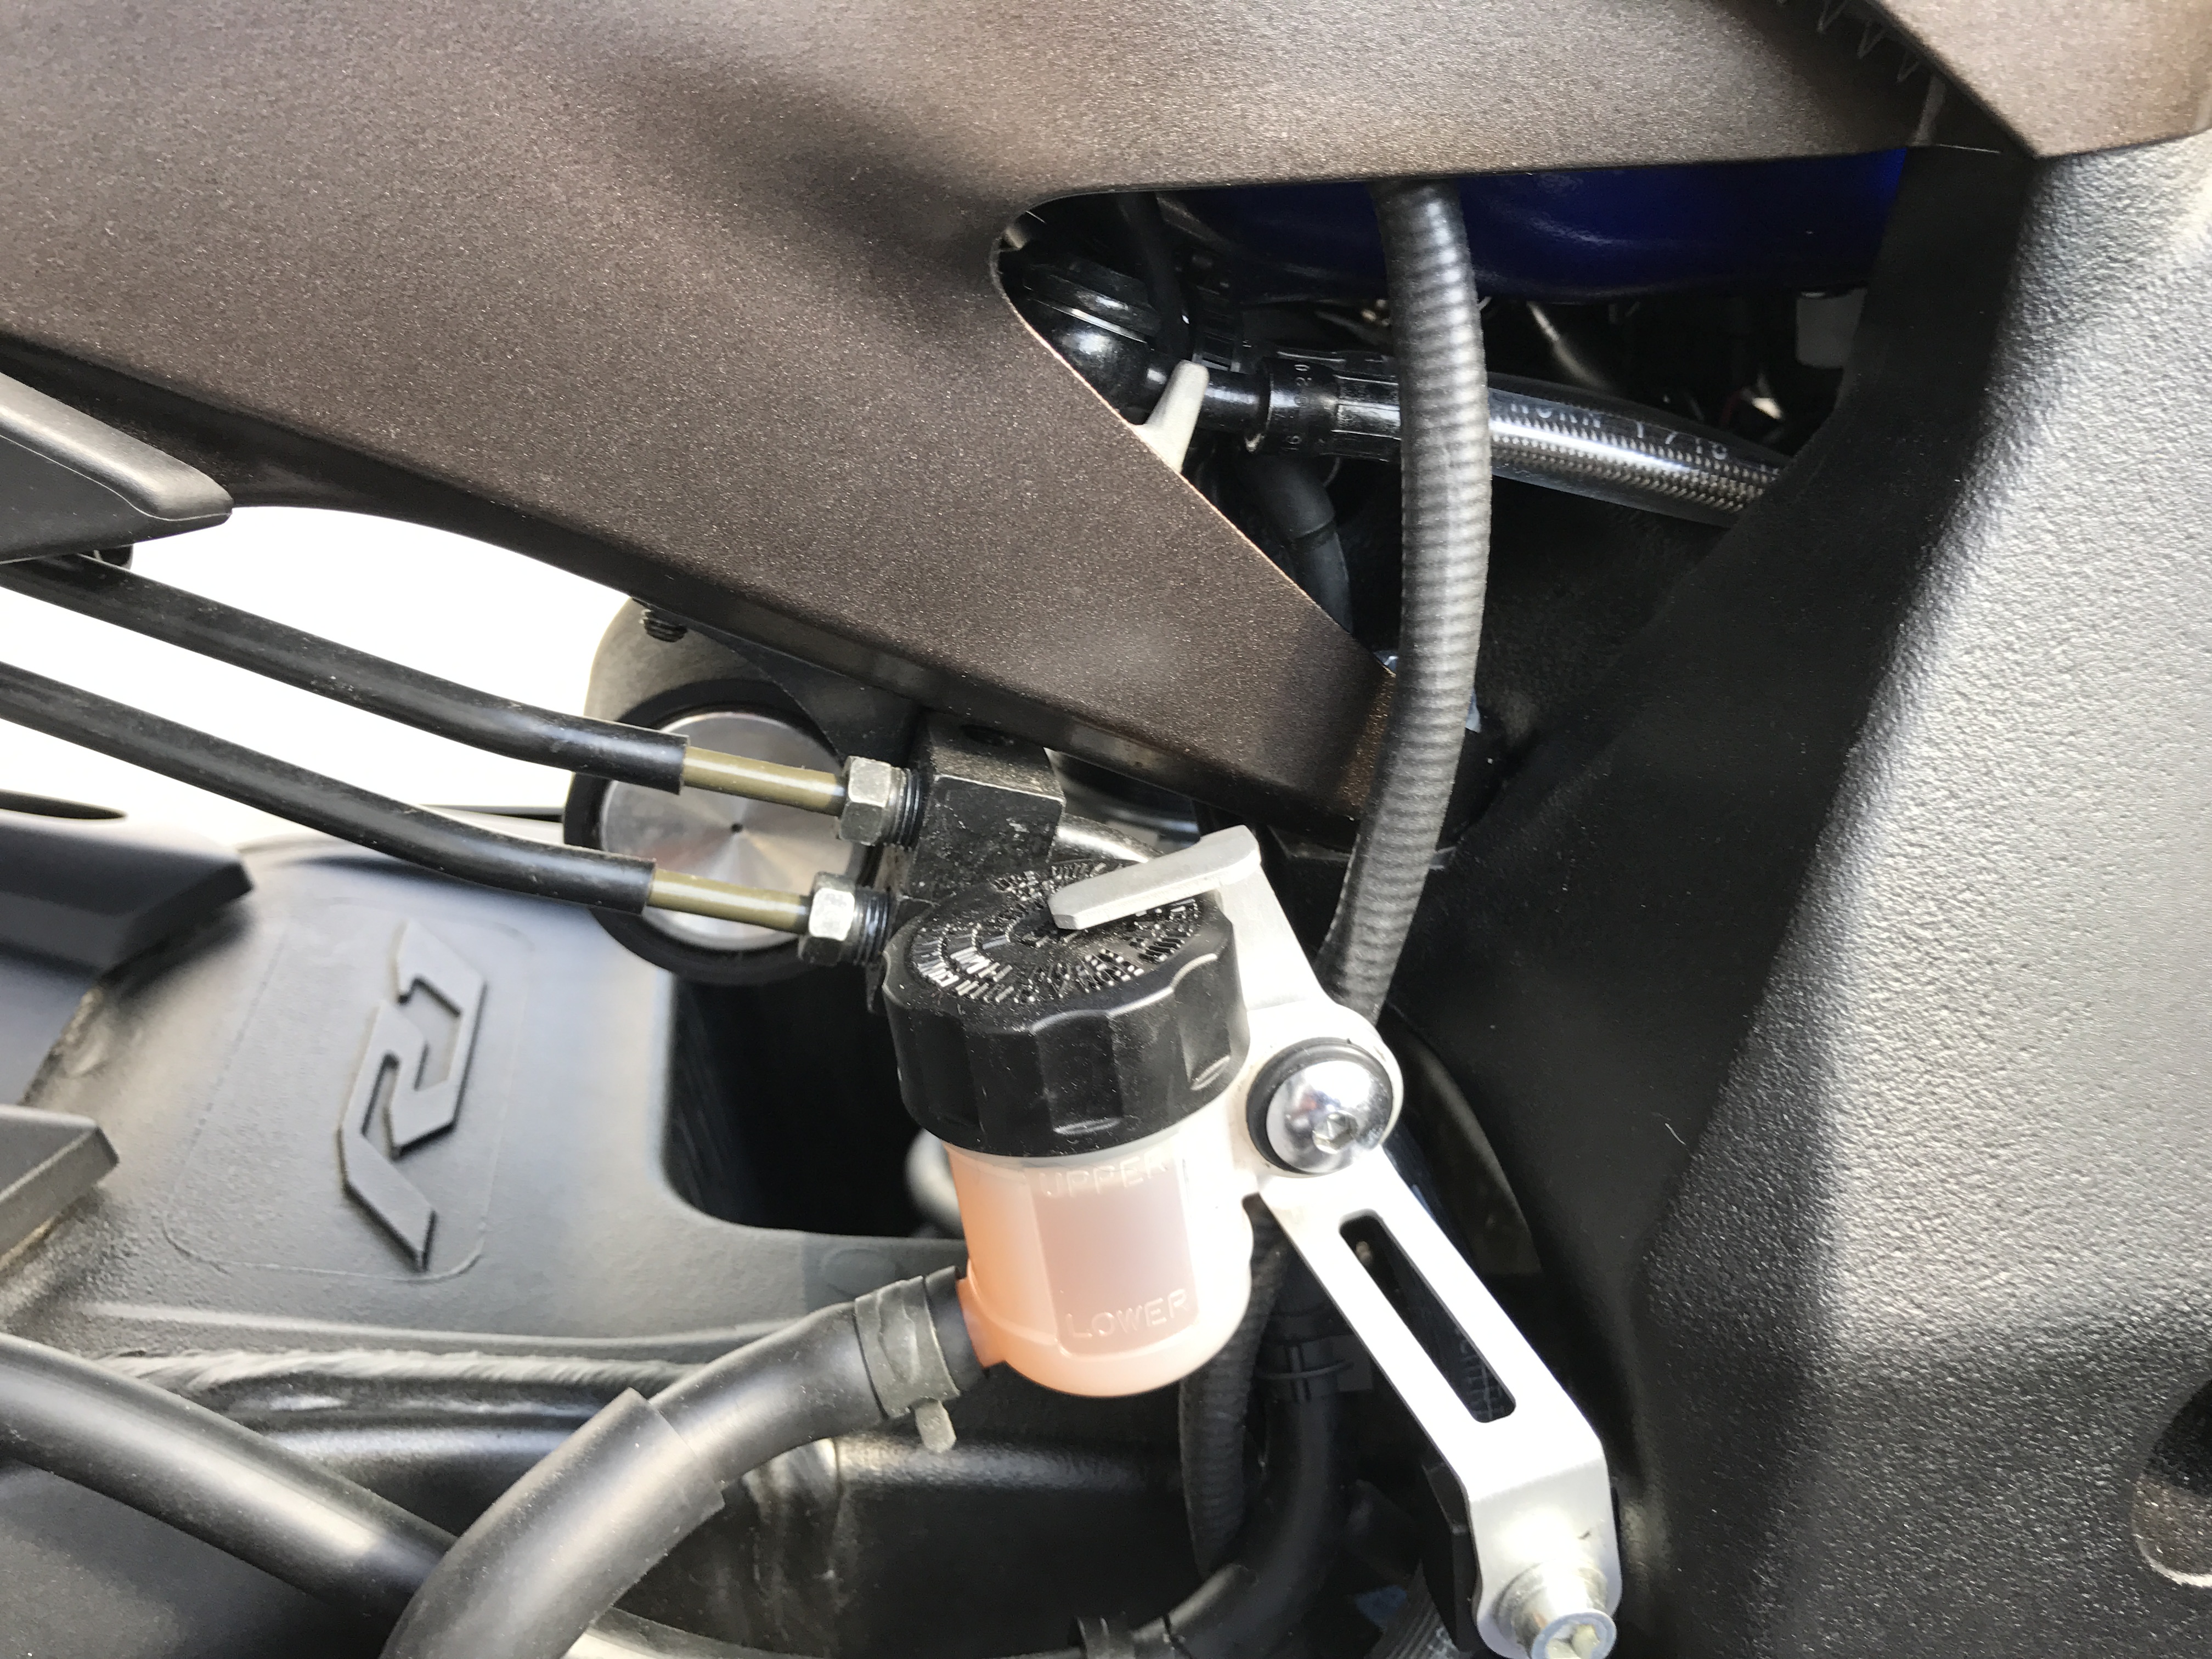
Once you have the socket end in the rider seat/ABS pump cavity then get the ActiveTune Controller out.
Feed the plug end through between the frame and the tank and through to where the left side OEM Lambda sensor plugged in using the shortest route possible and plug into the socket. (my beta test cable was probably a few centimetres shorter than the production version)
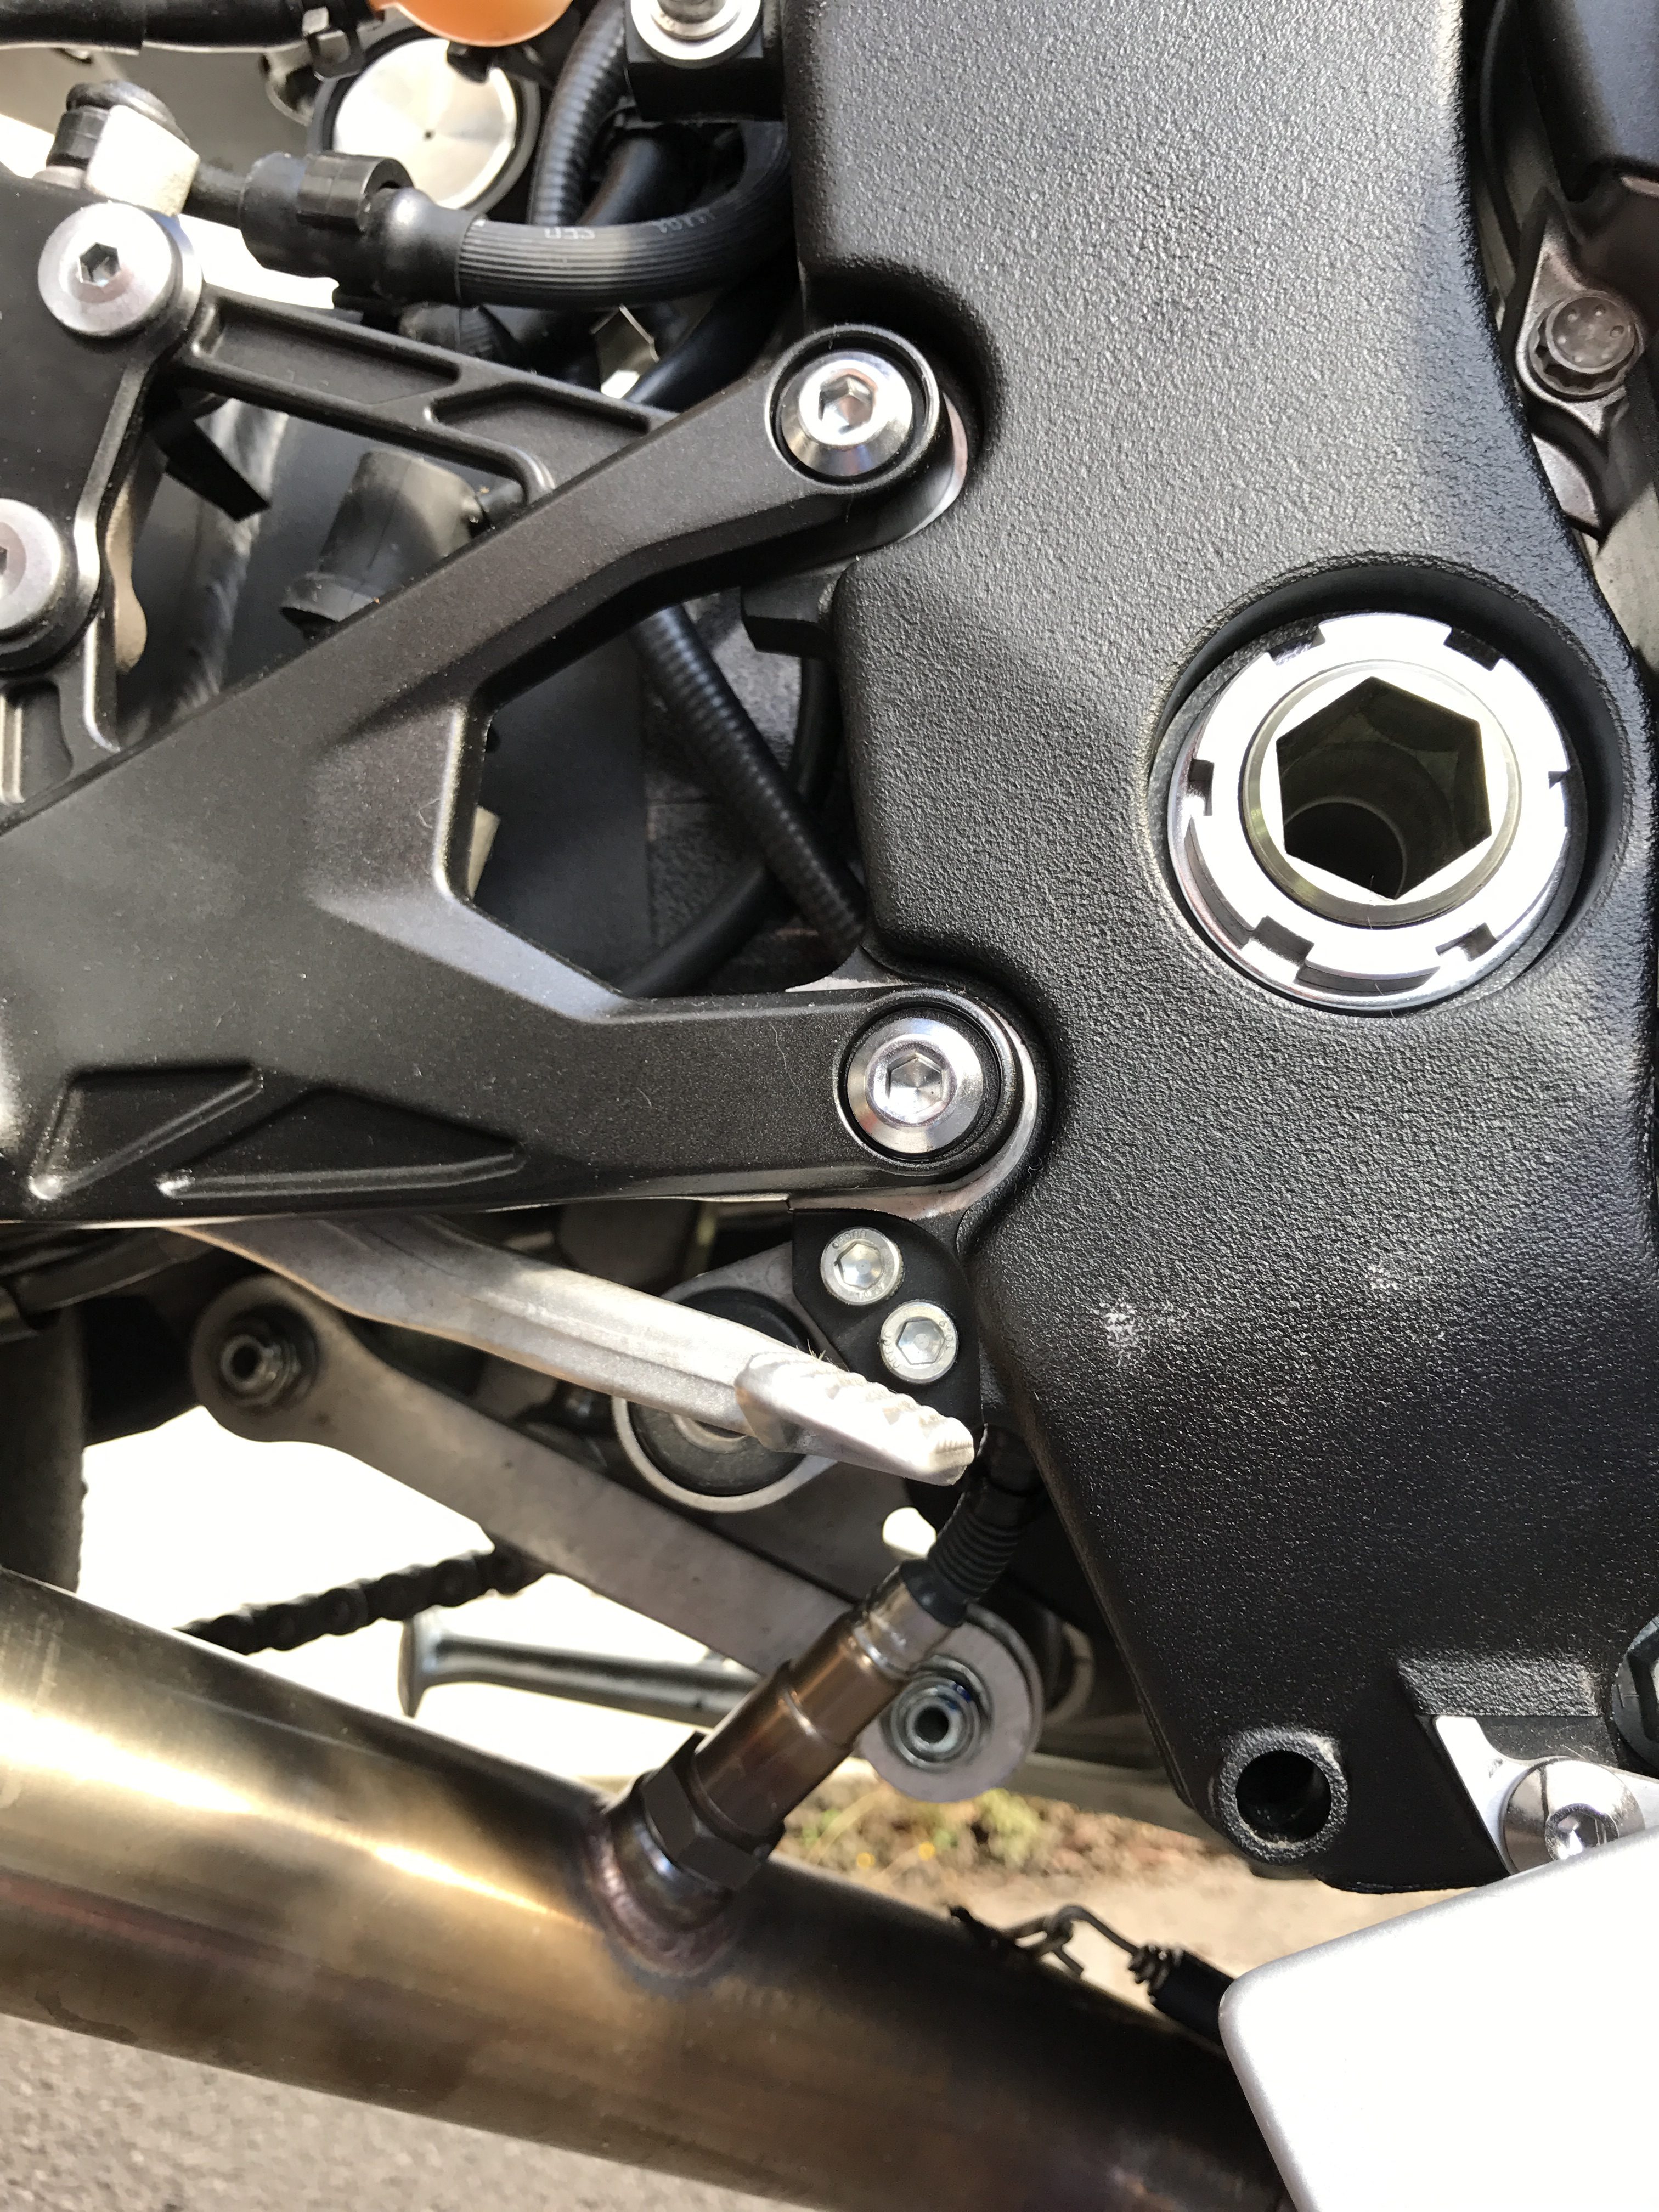
Plug in the wideband Lambda Sensor into the ActiveTune controller and fasten it so it will not move.
ActiveTune can be used by dyno operators to quickly and easily map a bike to the target AFR, ina matter of tuns various AFR targets can be tried with all the fueling changes performed automatically by ActiveTune.
Here is a short video running through the enabling of the ActiveTune in Passive and then Live correction mode as well as how to apply any trim’s you have suggested or performed live into your ECU’s base map.

